AI CINE-IMAGE GENERATOR
Project Title
Step #5: Add the generated and saved character images from Step #2 in the AI Cine-Character Generator based on their designation (Character 1, Character 2, Character 3, Character 4, Character 5). Then describe in the respective character attribute window his or her presence and action in the shot that you are creating.
Character 1
Character 2
Character 3
Character 4
Character 5
Step #6: Describe your shot's setting in detail within the Setting Prompt text box below. Copy this prompt into your favorite AI image generator. Save the generated image with the file name "Setting 1" to the project folder on your desktop or on the cloud. Finally, add this image to the AI Cine-Image Generator via Add Image button to the right of the Setting Prompt text box.
Setting Prompt
Step #7: Choose your shot's 10 cinematic elements. Please note that you may only choose ONE Image Style, either Photorealistic OR Artistic & Stylized.
Image Style (Photorealistic)
Image Style (Artistic & Stylized)
Shot Size
Camera Angle
Shot Framing
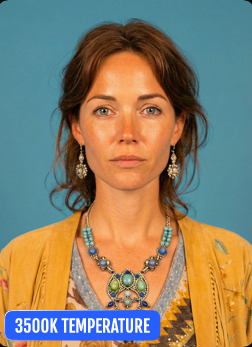
Lighting Description
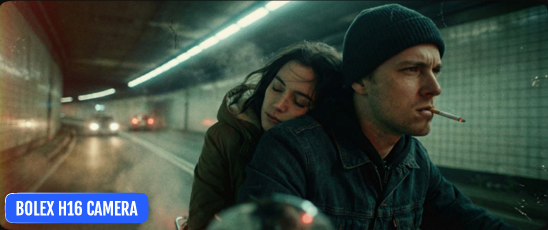
Camera
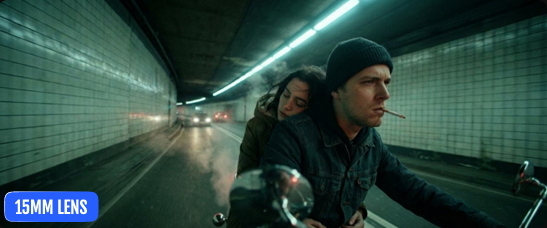
Lens
Film Grain
Film Stock
Cinematography Prompt
Image Style (Photorealistic)
N/A
Image Style (Artistic & Stylized)
N/A
Setting
—
Shot Size
N/A
Camera Angle
N/A
Shot Framing
N/A
Character 1
—
Character 2
—
Character 3
—
Character 4
—
Character 5
—
Lighting Description
a 3500K Temperature Light
Camera
16mm Bolex Camera
Lens
15mm Lens
Film Grain
No Film Grain
Film Stock
N/A
Step #8: Click on the COPY PROMPT button then paste the data (along with previously generated Character and Setting images) into your favorite AI image generator. If you want to create a video from the prompt, paste the prompt data into the Step #9 text box within the AI Cine-Video Generator application. Click the RESET button if you want to redo the prompt from the very beginning.